
Non toxic play dough! Get ready, moms! Non-toxic play dough is here to provide hours of safe and enjoyable fun for the entire family. Whether you have young children or teens, this activity offers a creative way to keep everyone entertained without compromising their safety. So go ahead – get molding and let your kids express themselves with peace of mind!
What is non toxic play dough?
Kids can now play with dough without fear of nasty chemicals – introducing non-toxic play dough! Created from safe, worry-free ingredients so you don’t have to fret while your little ones get crafty.
What are the benefits of non-toxic play dough?
Introducing your kiddos to non-toxic play dough is a surefire way to encourage their creativity, boost fine motor skills, and create unforgettable memories. It’s like three gifts in one – each time you grab the dough for some crafty fun with the little ones, there are so many possibilities!
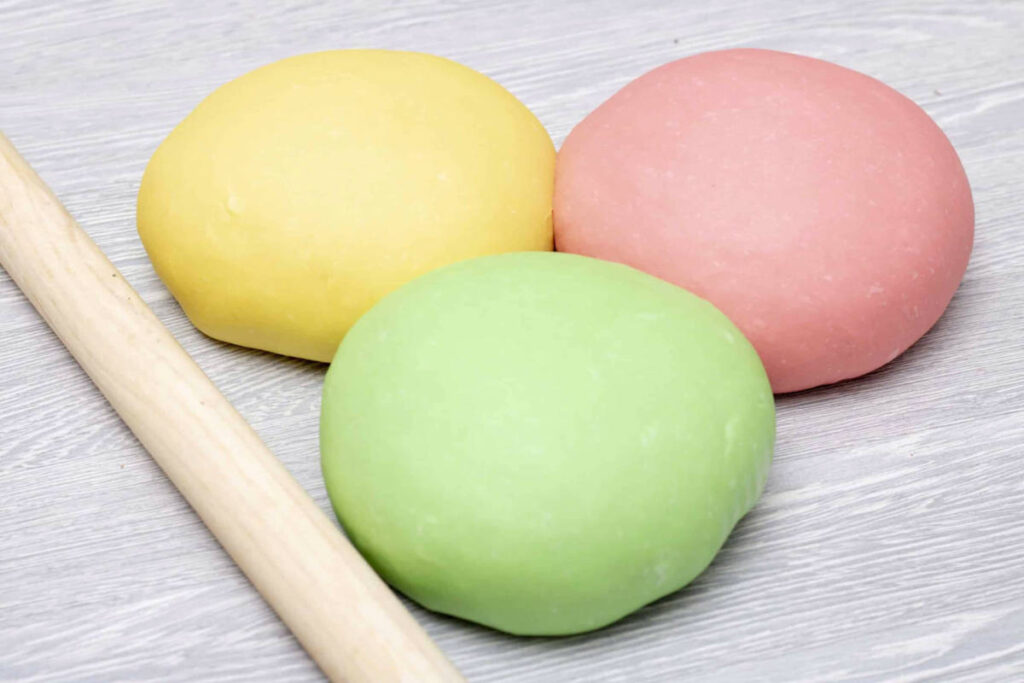
How do you make non-toxic play dough?
Looking to make some mess-free fun? Look no further than your pantry! All you need are four simple ingredients – flour, water, salt and cream of tartar – plus a splash of color for the perfect play dough. Let’s get mashed up with creativity!
Ready for a doughy adventure? Get mixing and kneading to transform your ingredients into an artful masterpiece. If it’s sticky, add more flour so you can fashion fun shapes with the perfect texture!
What are some ideas for non-toxic play dough activities?
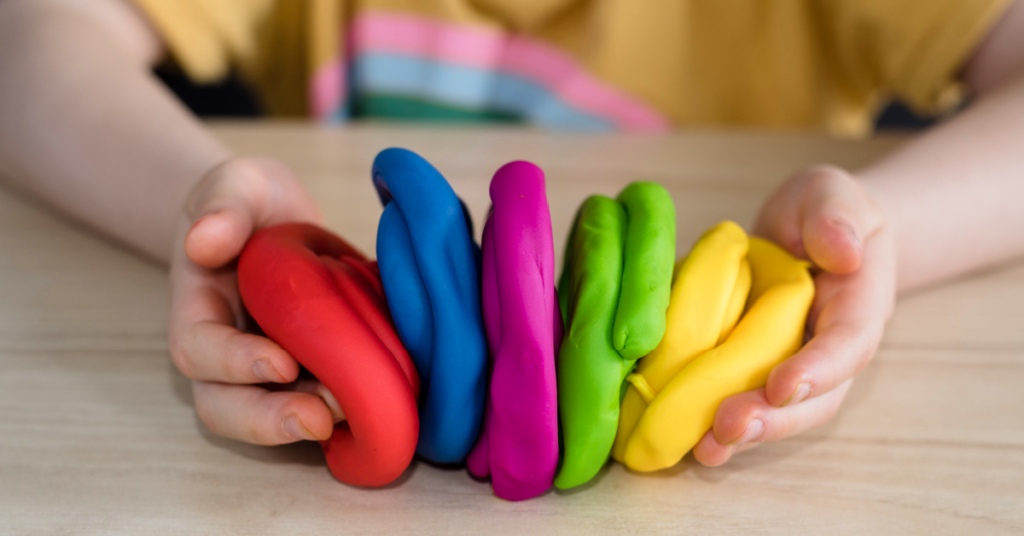
With non-toxic play dough, the sky is your limit! From sculpting masterpieces to creating unique works of art – let your imagination run wild. Get creative and explore all the possibilities today with these fun activity suggestions as a guide!
Make shapes and figures
Bring out your kid’s creative side with some playdough fun! All you need is a few pantry staples to mix up the perfect recipe for creativity. Let little ones roll, cut and shape their own characters from fluffy dough – then watch as they create never-ending adventures. This activity is sure to keep imaginations buzzing!
Create a sculpture
If you fancy yourself an artist, give playdough sculpture a try! Start with one big ball of dough and divide it up however you like. Then use your own two hands to get creative: form the base shape and explore new textures by using bits from other colors or ingredients – all while having as much fun as possible. Once finished, grab a spoon for details that offer even more depth to bring out its full potential!
Make jewelry
Make jewelry from playdough.
Need a little sparkle in your life? Spice up the ordinary with homemade jewelry! With some play dough and simple supplies, you can create beautiful necklaces, earrings, rings – anything you can dream of. Adding DIY bling to your day: it’s easier than ever!
- Get ready to put your crafting skills to work with this project! Starting off, you’ll have a bit of fun transforming play dough into the perfect circle. Make sure that it’s perfectly round and smooth so that all the edges are nice, then grab a toothpick for some detailed decorating – poke a hole in the center where you can add an eye-catching bead or button. Finally, finish up by giving your masterpiece one final touchup, and voilà – One custom-made piece of jewelry is on its way!
- Create a unique piece of jewelry with just your hands and some play dough! Start by rolling the dough into a smooth, round ball. Then sculpt it into an elegant necklace shape- you can even add decorative details if you like. To finish off this crafty project, use a bead or small button to make an opening at the top so that it’s ready for wearing around your neck!
- Start your earrings-making journey by shaping a small ball of dough – the perfect canvas for creating an eye-catching piece! Use your hands to form and shape it, taking extra care to give it smooth edges so that you’ll be left with a round masterpiece.
Take your earring and give them the final touches with a bead or button. Then finish off by giving it that smooth, polished look – all courtesy of those fingers!
Make a collage
I just crafted a work of art with three pantry staples: flour, water, and salt! Crafting this multi-textured collage out of play dough was so much fun. The colors swirled together to form an amazing picture – like magic from the kitchen cupboard!
Have a play dough race
Kids adore play dough, and we can see why! Not only is it a breeze to make – with just three simple ingredients you’ll be on your way. But beyond that, children of all ages relish the creative possibilities: from sculpture making to imaginative open-ended play – there’s no limit to what they can come up with when working their magic with some good old-fashioned playtime fun!
- In baking, success starts with the basics: divide your dough into equal parts and generously flour the surface for rolling out. Don’t get stuck in a sticky situation – make sure those hands remain unencumbered so you can create delectable pastries!
- Let your little ones show off their creativity with some homemade art! From classic circles, squares, and triangles to more imaginative creations like animals or rockets – the possibilities are endless. Time for them to roll up those sleeves and get baking!
- Ready to get crafty? It’s time for some imaginative fun! Let the kids unleash their creativity by decorating their shapes using a kaleidoscope of colors and materials – from bright paints, and sparkly glitters to squishy play dough.
- Ready, set, create! Grab your dough and let the competitions begin. Challenge each other to see who can make a masterpiece with their hands—and have loads of fun in the process.
Make imprints in the dough.
Get ready to make a lasting impression! To create personalized impressions in your dough, you’ll need the right tools – and we have just what’s needed.
-A pie plate
-A dough scraper
-A spoon
-Water
1. Preheat the oven to 375 degrees F (190 degrees C).
2. Place the pie plate on a baking sheet and place the dough scraper on top of the pie plate.
3. Use the spoon to spread the dough evenly on the pie plate.
4. Drizzle water over the dough.
5. Use the dough scraper to make indentations in the dough.
6. Bake the pie for 20 minutes.
7. Let the pie cool before serving.
Looking for a great non-toxic play dough to get creative with? Don’t have the time or energy to make it yourself? We’ve got you covered! Here are some of our top picks from what’s available on the market. Get ready, because your next masterpiece is just around the corner!
Sargent Art 3-Pound Art-Time Dough
For the novice chef, 3-pound dough is your jump into culinary stardom. Its user-friendly texture makes it a cinch to work with and its ideal weight won’t leave you feeling overwhelmed. Plus, once crafted into Art it’ll make even the most experienced maestro’s mouth water!

Play-Doh Modeling Compound
Let your little ones explore the wonderful world of shapes and colors with Play-Doh! Each fun, squishy squeeze can spark creativity and imagination in even the youngest budding artists.

Conclusion
Unleash your creativity with some no-fuss fun! Put on your apron and get ready to knead up the ultimate playtime: safe, non-toxic DIY dough. Perfect for all ages (and clean hands!), explore what you can make – from models of castles to funny faces – but don’t stop there; our other blogs have plenty more activities that will keep kids entertained!
More reading suggestions:
